
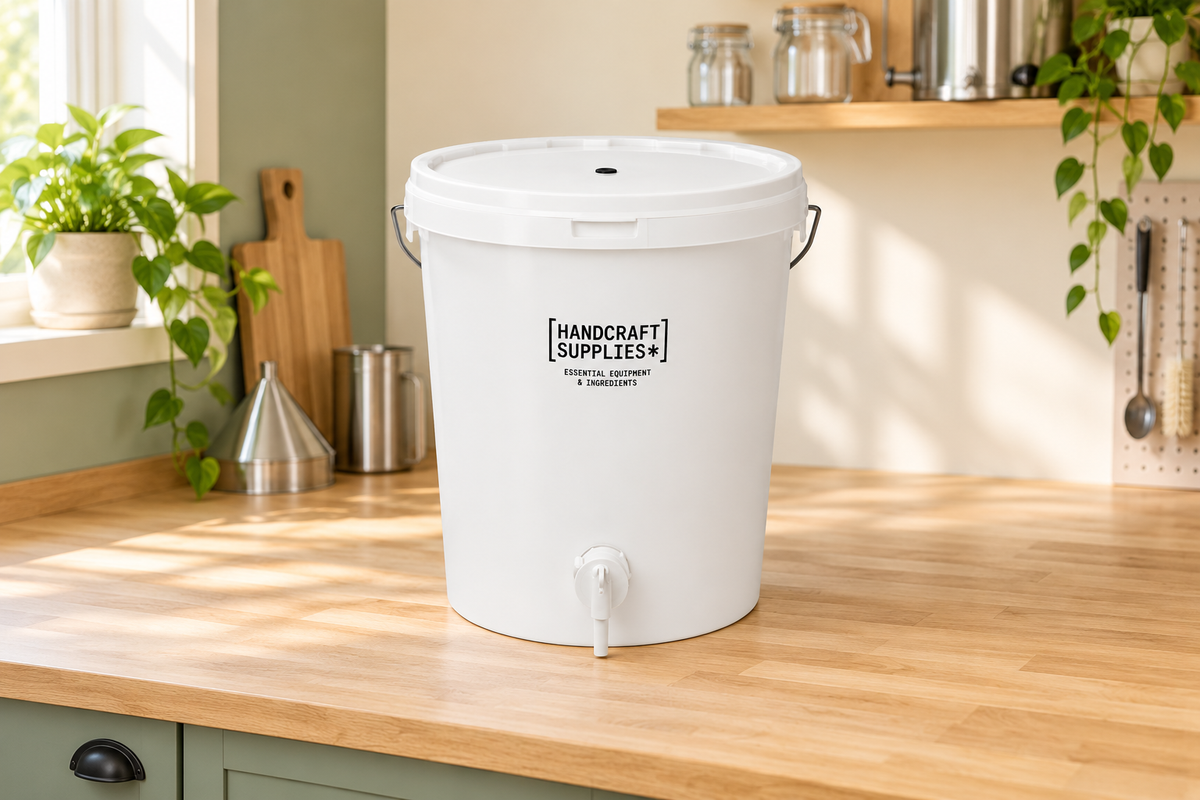
A fermentation bucket is one of the simplest ways to start making beer, wine or cider at home. The useful differences are practical: how much it can hold during fermentation, which lid it has, whether it accepts an airlock and how you will transfer the finished drink.
This guide explains how to choose a fermenting bucket and use it for your next batch. Browse our fermentation buckets and fermenters once you know the size and fittings you need.
What is a fermentation bucket?
A fermentation bucket is a food-grade vessel used to hold your brew while yeast turns fermentable sugars into alcohol and carbon dioxide. The wide opening makes mixing and cleaning straightforward, while a suitable lid helps protect the contents.
It may also be called a fermenting bucket, brewing bucket or fermenting bin. Some have a tap; others are emptied with a syphon. Standard brewing buckets are designed for fermentation with gas able to escape, rather than for holding pressure or carbonating drinks.
What size fermentation bucket do you need?
Start with the volume your recipe makes, then allow extra space above the liquid. This headspace gives foam, yeast and fruit room during active fermentation. Do not assume that the capacity printed on a bucket is its recommended working volume.
| Vessel size | When to consider it | What to check |
|---|---|---|
| 10 litres | Small batches and trial recipes | Keep the batch below the full capacity and allow room for foam or fruit |
| 25 litres | Products specifically rated for standard kit batches up to 23 litres | Some vigorous fermentations need more headspace than this provides |
| 30–33 litres | More room above a typical 20–23-litre batch | Supplied fittings, working volume and available storage space |
| 60 litres | Larger recipes where the vessel suits the intended batch | Working volume, safe handling and how you will drain the vessel |

For smaller batches; allow headspace

Check the recommended working volume

Extra headspace above a 23-litre batch
Our 25L fermentation bucket with grommet lid and tap is listed for batches up to 23 litres. For additional room above a batch of that size, consider the Young's 33L bucket with grommet lid. Recipe instructions take priority, particularly for foamy fermentations or fruit wines with a substantial cap of pulp.
Headspace needs can change later. A large bucket that suits primary fermentation may be less suitable for keeping a small quantity of finished wine for an extended period. Our demijohn vs fermentation bucket guide covers choosing a vessel for different stages.
Choosing the lid, airlock and tap

Check compatibility and whether an airlock is included

Check the vessel fitting before ordering
Grommet lid
A grommet lid has an opening with a rubber fitting for a compatible airlock. Check the product listing carefully: an airlock-ready lid does not necessarily mean the airlock is supplied. The Young's 33L version, for example, has a grommet lid but its airlock is sold separately.
Solid lid
A solid lid has no airlock opening. It can be useful for compatible storage or transfer arrangements, but you must provide an appropriate route for fermentation gas to escape during active fermentation. Do not seal a standard bucket airtight with a solid lid and expect it to hold pressure. Follow the vessel and recipe instructions.
Tap or no tap?
A fitted tap makes sampling and draining convenient, provided you can clean it properly. A bucket without a tap can be used with a sanitised syphon. Neither option removes the need to keep sediment out of the transferred drink.
Check replacement parts by brand and size. Lids, tap holes, washers and grommets are not universally interchangeable, even when two buckets have the same stated capacity.
How to use a fermenting bucket
- Check and assemble it. Inspect the bucket and fittings, fit the tap as instructed and test for leaks with water before brew day.
- Clean and sanitise. Prepare the bucket, lid, tap, airlock and any mixing or sampling tools according to their instructions.
- Prepare your recipe. Mix the ingredients and water as directed. Respect the bucket's temperature limits and leave the required headspace.
- Check the temperature before adding yeast. Use the range specified by your yeast or kit. Measure the liquid rather than assuming it is at room temperature.
- Fit the lid and venting arrangement. Where an airlock is specified, fill and fit it as directed. Place the bucket somewhere stable and suitable for the recommended fermentation temperature.
- Monitor the brew. Take hygienic samples and use a hydrometer when checking fermentation progress. Follow your recipe's expected finishing gravity and confirmation period before bottling.
Our hydrometer reading guide explains how to check specific gravity. Stable readings need to be considered alongside the expected finishing gravity, since a stalled fermentation can also appear stable.
How to clean and sanitise a fermentation bucket
Cleaning removes residue; sanitising prepares the cleaned surfaces for contact with your brew. Sanitiser is not a substitute for removing dried yeast, fruit and sediment first.

- Empty and rinse the vessel promptly after use, within its temperature limits.
- Use a brewing cleaner suitable for the plastic and fittings, at the stated dilution and contact time.
- Use a soft, non-abrasive cloth or suitable brush. Avoid scratching the inside.
- Remove and clean accessible tap parts and seals according to their instructions; residue can hide behind fittings.
- Rinse where the cleaner requires it, then sanitise before use with a suitable product.
- Drain and store clean equipment as directed. Follow the sanitiser's instructions on rinsing and contact time.
When people ask how to “sterilise” a fermenting bucket, they usually mean this cleaning and sanitising routine. Browse our brewing cleaners and sanitisers and follow the individual product instructions. Replace equipment that is damaged or cannot be cleaned effectively.
What if the airlock is not bubbling?
An airlock shows gas passing through that particular route. If gas escapes around the lid or another fitting, you may see little bubbling even while fermentation continues. A quiet airlock alone does not prove that fermentation has stopped.
Check the temperature, visible signs of fermentation and gravity readings before deciding what to do. Do not try to force bubbles by squeezing the bucket or blocking its gas outlet. A hydrometer provides more useful evidence of fermentation progress.

A hydrometer helps you assess fermentation progress
Frequently asked questions
Can I open my fermentation bucket?
Open it when your recipe requires an addition or you need to take a sample. Clean and sanitise anything that will touch the brew, keep the opening brief and minimise splashing. Avoid repeatedly lifting the lid just to look inside.
Does every fermentation bucket need an airlock?
It needs an appropriate way for fermentation gas to escape. A fitted airlock is a common arrangement, but some traditional methods use a different venting setup. Follow the vessel and recipe instructions rather than sealing a solid-lid bucket airtight.
Can I use any plastic bucket for brewing?
Choose a food-grade vessel intended for the job and suitable for your process temperatures. Avoid containers with an unknown history or ones previously used for non-food chemicals.
Can I bottle straight from a bucket with a tap?
Where the setup and recipe allow it, yes. Confirm fermentation has finished and clean and sanitise the tap and bottling equipment. Avoid disturbing the sediment, and follow the recipe's priming and packaging instructions. A separate bottling bucket is another option.
Choose your next fermenting bucket
Compare the fermentation bucket and fermenter range by working volume, lid type and outlet. Check whether you also need an airlock or bung, a syphon and a suitable hydrometer before starting your batch.
For help choosing, tell The Hop Shop what you are making, your batch size and whether you prefer a tap or syphon.
Further reading: Mangrove Jack's guidance on airlocks and airlocks that stop bubbling, plus Five Star cleaning and sanitising guidance.


